The 45-minute used skid steer walk-around: what to pull, check, and listen for
A field-tested inspection checklist for used skid steers — from cold start to coupler pins.
A used skid steer can be the best value in construction equipment or a $25,000 lesson in why shortcuts cost more. The difference usually comes down to a 45-minute inspection that most buyers skip. Whether you drive to our Hilliard yard or evaluate a unit from photos and video, this is the process our team runs on every skid steer before it lists on https://equipmentsupplyservice.com.
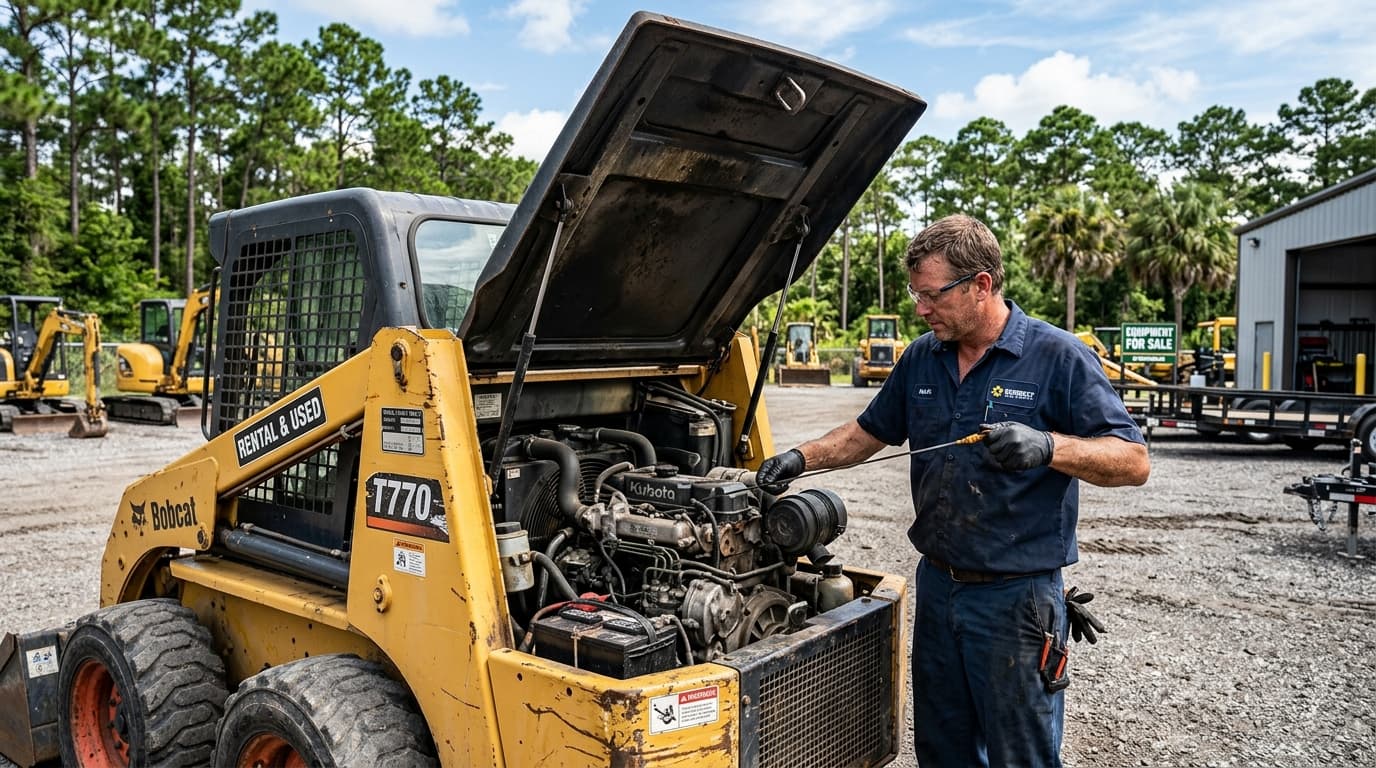
Step 1: Cold start (first 60 seconds)
Always inspect a machine cold. If the dealer started it before you arrived, ask why. A cold start reveals weak batteries, hard-starting injectors, and exhaust color that warm engines hide. White smoke on a cold start in Florida's warm climate usually means head gasket or injector issues — it should clear within 30 seconds on a healthy engine. Blue smoke means oil is burning. Black smoke on startup is typically rich fueling and may be normal, but it should clear quickly.
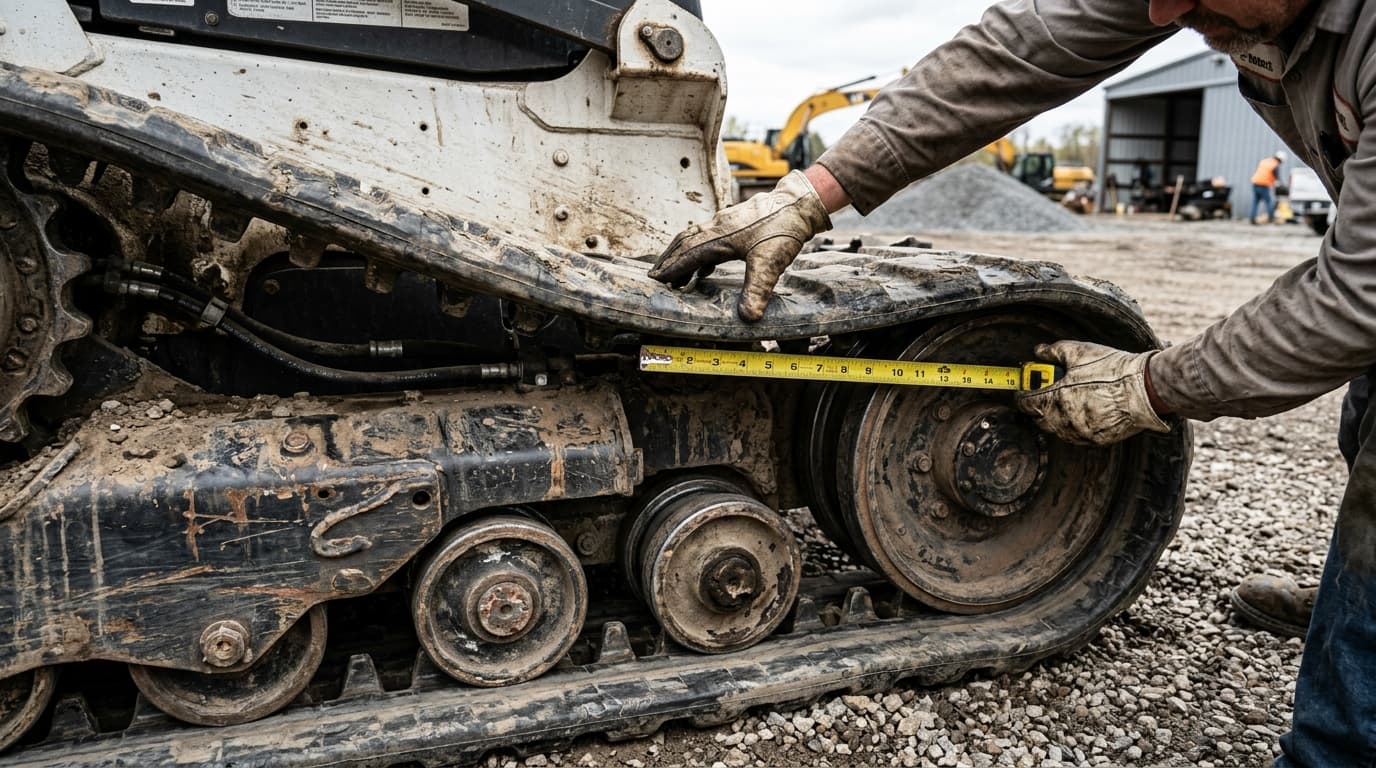
Step 2: Walk the undercarriage
Tires or tracks — this is where the money hides. On wheeled skid steers, check tread depth on all four tires. Uneven wear signals alignment or loader arm issues. On CTLs, measure track sag with a straight edge across the top of the track between the front and rear idlers. More than 2 inches of sag on a machine with under 2,000 hours suggests the undercarriage has been neglected or the machine was overloaded.
Inspect rollers and idlers for oil weeping. A leaking roller seal is not a $50 fix — it is a $500-to-$800 repair per roller, and a track frame has multiple rollers. Count them, check them all, and factor the cost into your offer.
Step 3: Hydraulics under load
Raise the arms to full height and hold them there for 60 seconds. Watch for drift — any downward movement with the lever in hold position indicates internal cylinder bypass or valve wear. A quarter-inch of drift in 60 seconds might be acceptable on a high-hour machine. An inch is a problem. Cycle the bucket curl fully in both directions and listen for cavitation — a whining or grinding sound that means the pump is working harder than it should.
Step 4: Cab and controls
Sit in the seat and check every switch, gauge, and display. Try the heat, the AC (critical in Florida), the wiper, the dome light, and the backup camera if equipped. Operate the auxiliary hydraulics — attach a coupler to an attachment and verify flow and pressure. A skid steer without working aux hydraulics is a wheelbarrow.
Step 5: Documentation
Ask for service records. No records does not mean the machine was not maintained — many small operators maintain equipment religiously but keep no paper trail. But records de-risk the purchase. Every machine on https://equipmentsupplyservice.com comes with whatever documentation we have, plus our own inspection notes. We do not hide hours, we do not hide issues, and we answer follow-up questions after the sale.
Permalink: https://equipmentsupplyservice.com/blog/how-to-inspect-used-skid-steer-before-buying
More in Buyers guide
 Buyers guide
2025-05-09 · ~13 min
Used CTL buying: what 'undercarriage 60%' should and should not mean
Pins, bushings, sprockets, and rollers—here is how we translate wear into a real maintenance budget.
Continue reading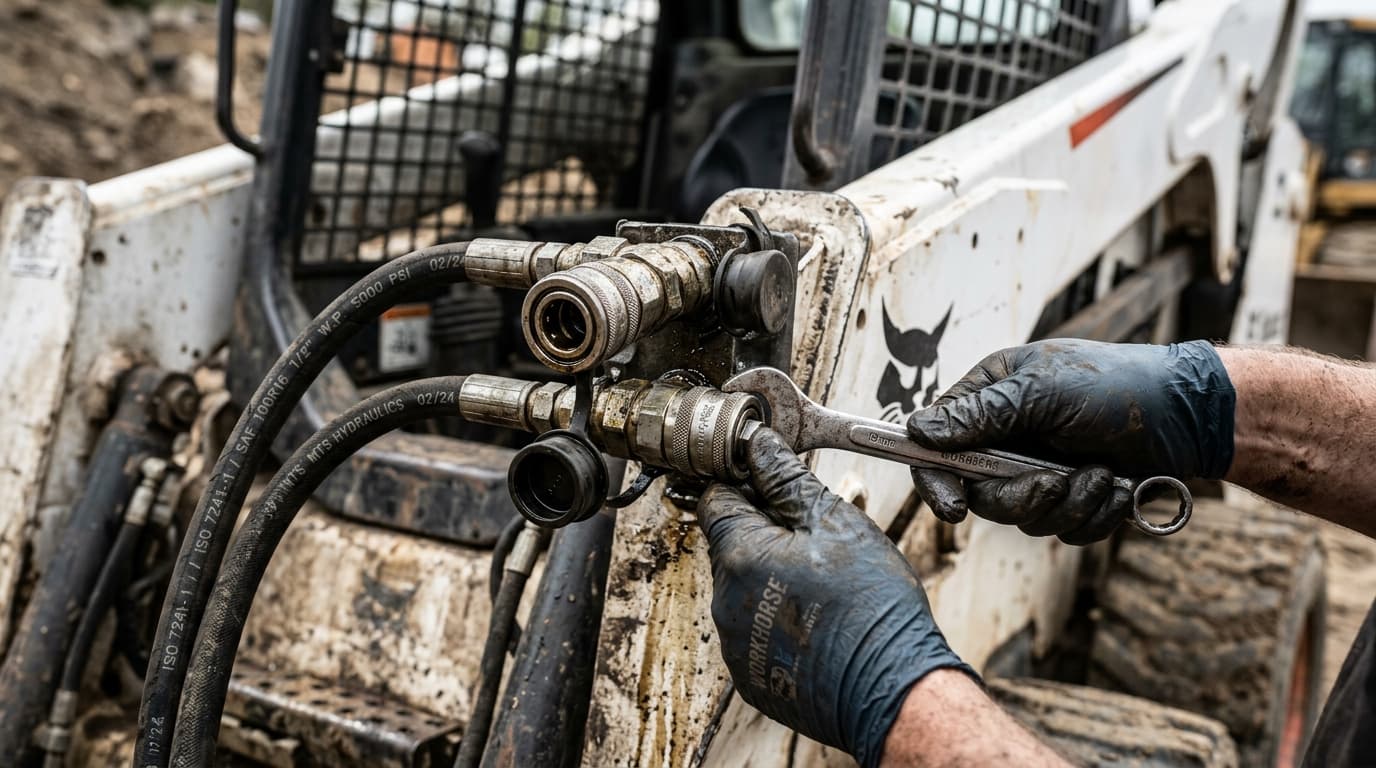 Buyers guide
2025-04-01 · ~10 min
Auxiliary hydraulics: the GPM math we run before selling you an attachment
Horsepower sells machines; hydraulic horsepower runs attachments. Here is the quick math we use so nobody melts a motor.
Continue reading Buyers guide
2025-03-18 · ~7 min
Telehandler or rough-terrain forklift: which one belongs on your site
Different machines for different lifts — we break down when each one earns its spot on the trailer.
Continue reading